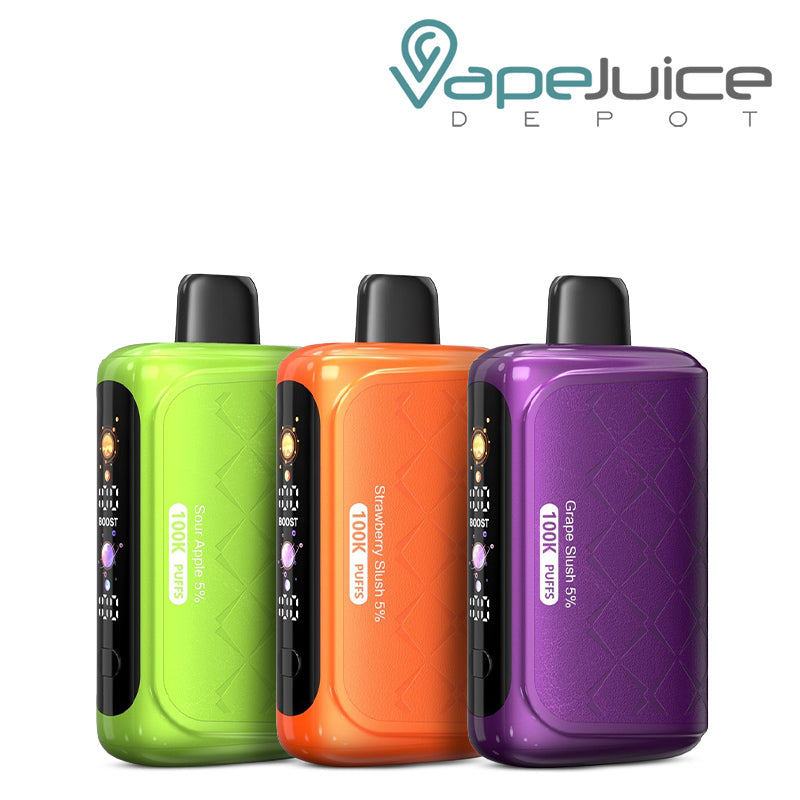
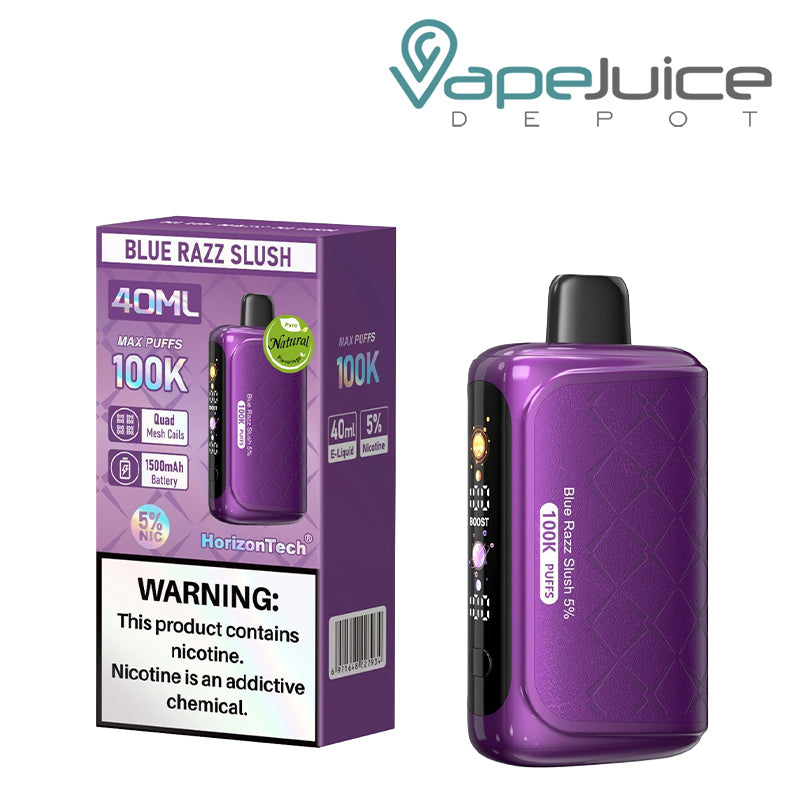
HorizonTech

表示
Three colors of HorizonTech Falcon Legend Sub Ohm Tank - Vape Juice Depot
オプションを選択
Three colors of HorizonTech Aquila Tank - Vape Juice Depot
HorizonTech Aquila Tank
販売価格$ 39.99
1件
オプションを選択
Three colors of HorizonTech Sakerz Master Tank - Vape Juice Depot
オプションを選択
Tree HorizonTech Sakerz Replacement Coils and its box behind - Vape Juice Depot
オプションを選択
Three pack HorizonTech Falcon 2 Sector Mesh Coils and a box next to it - Vape Juice Depot
HorizonTech Falcon Coils - Vape Juice Depot
HorizonTech Falcon Coils
販売価格$ 20.00
4件
オプションを選択
HorizonTech Falcon Mesh Coils - VapeJuiceDepot
オプションを選択
A box of HorizonTech Aquila E2 Dual Mesh Coil with a warning sign and a 3-pack next to it - Vape Juice Depot
Three different colors of HorizonTech Sakerz Sub Ohm Tank - Vape Juice Depot
HorizonTech Falcon 2 Replacement Glass and its box behind it - Vape Juice Depot
HorizonTech Falcon 2 Sub Ohm Tank - Vape Juice Depot

フィルター

Description

Remove the Tank: Unscrew it from the mod.
Take Apart the Tank: Remove the top cap and glass.
Remove the Old Coil: Unscrew it from the base.
Prime the New Coil: Add a few drops of e-liquid to the cotton.
Install the New Coil: Screw it into the base.
Reassemble the Tank: Put the glass and top cap back on.
Reattach the Tank: Screw it back onto the mod.
Let It Sit: Wait a few minutes before vaping.

Remove the Tank: Unscrew it from the mod or battery.

Open the Fill Port: Locate the fill port, usually found under the top cap or a side slot.

Add E-Liquid: Pour e-liquid into the fill port, avoiding the central airflow tube.

Seal the Tank: Replace and tighten the top cap or seal the fill port.

Reattach the Tank: Screw it back onto the mod or battery.

Let It Sit:
Before vaping, allow the tank to sit for a few minutes to ensure the coil is saturated.

The Falcon King tank is compatible with HorizonTech Falcon coils, including the M1, M2, M-Triple, and M-Dual mesh coils. These coils deliver great flavor and vapor production for an enhanced vaping experience.