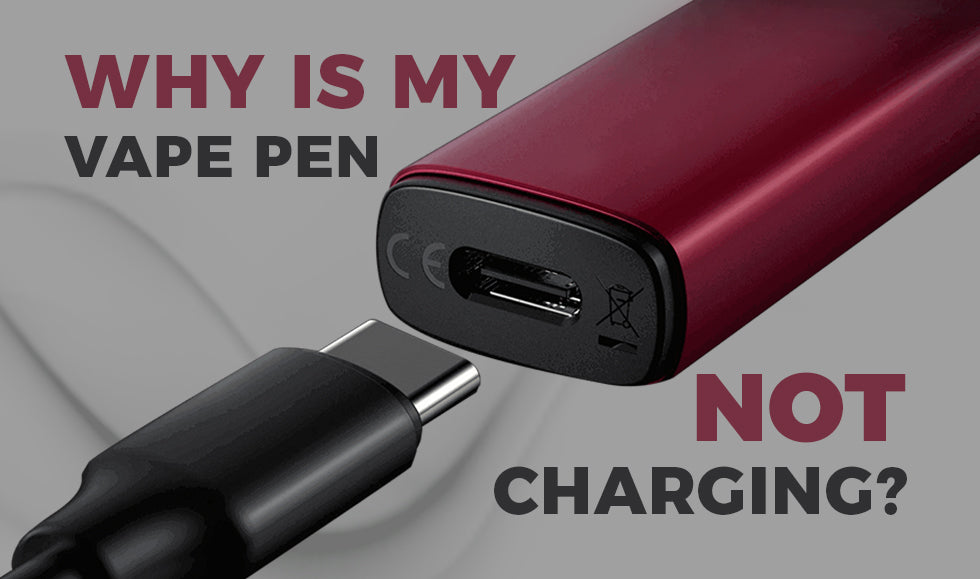
In the world of vaping, few things are as frustrating as a dead battery when you're craving a satisfying puff. You plug in your vape pen, eagerly awaiting its revival, only to find that it refuses to charge. Before you resign yourself to a vape-less existence, we’re going to be discussing some common reasons why your vape pen is not charging and even explore some troubleshooting solutions, as all isn’t lost quite yet with your device.
Why is My Vape Not Lighting Up When Charging?
If your vape pen isn't lighting up when charging, there are several possible issues that might be causing this problem, such as the following:
- Faulty Charger or Cable: The most common issue is a faulty charger or USB cable. Chargers and cables can become damaged due to wear and tear, poor handling, or other external factors. Try using a different charger or cable (it still should be a compatible vape pen charger) to see if the issue persists.
- Battery Issues: Over time, the battery in a vape pen can degrade and lose its ability to hold a charge. If the battery is very old, it might need replacing. Also, if the battery has been exposed to extreme temperatures or improper charging practices, it might fail prematurely.
- Poor Connection: Sometimes, the connection between the charger and the vape pen might not be secure. This could be due to dirt or debris in the charging port or damage to the port itself. Gently cleaning the port with a toothpick or small brush might help. Ensure that the charger is firmly connected.
- Internal Electronics: If the charging circuit inside the vape pen is damaged, this could prevent the pen from charging properly. This kind of damage can occur from dropping the device or exposing it to water. If this is the case, the vape pen might need professional repair or replacement.
- LED Indicator Malfunction: It's also possible that the LED indicator itself is malfunctioning. In this case, the vape pen might actually be charging, but the light that indicates charging might not be working. You can test this by charging the device for some time and then trying to use it.
- Software Glitch: In more advanced vape pens that use software to operate, a software glitch could cause display or charging issues. Sometimes, resetting the device or letting its battery fully drain and then recharging it might resolve this issue.
- Protective Features Activation: Some vape pens have built-in safety features that prevent charging under certain conditions, like when the device is too hot or too cold. Ensure the device is in a safe, room-temperature environment while charging.
Do All Vapes Light Up When Charging?
Not all vape pens light up when charging, but many do. The light is often used as an indicator to show that the device is properly connected to the charger and receiving power. It can also indicate the charging status, such as flashing while charging and turning solid or turning off when fully charged. However, the specifics can vary between different brands and models, so it's a good idea to refer to the user manual of your specific vape pen for the exact details on charging indicators, particularly, too, if your rechargeable disposable vape not charging is happening.
How Do I Fix My Vape’s Charging Issues?
To troubleshoot and possibly fix charging issues with your vape pen, you can try the following steps, as each step can help diagnose and potentially resolve different issues related to charging your vape pen:
- Check the Charger and Cable: Ensure the charger and cable are properly connected and functioning. Try using a different charger or cable that is compatible with your device to see if the issue persists.
- Inspect the Charging Port: Look at the charging port on your vape pen for any dirt, debris, or damage. Gently clean the port with a dry, soft brush or toothpick.
- Examine the Battery: If your vape pen's battery is removable, check it for any signs of damage or wear. Batteries have a lifespan and may need replacing after extensive use.
- Ensure Proper Connection: Sometimes, the connection may not be established properly due to misalignment or dirt. Make sure the connections are clean and making contact.
- Reset the Device: Some devices have a reset function. Check your user manual to see if this is an option, and follow the instructions to reset your vape pen.
- Check for Firmware Updates: If your device supports firmware updates, check the manufacturer’s website to ensure your device is up to date.
- Avoid Extreme Temperatures: Make sure your vape pen isn’t being charged in extremely hot or cold temperatures, as it can affect the battery’s ability to charge.
- Let it Rest: Sometimes, simply letting the vape pen sit for a few hours without attempting to charge it can help resolve charging issues.
- Consult the Manual: Refer to your vape pen's user manual for specific troubleshooting tips related to your model.
- Contact Support: If none of the above solutions work, it may be best to contact the manufacturer's customer support for help or to check if your vape pen is still under warranty.
How to Make a Pen Work Again
Wondering how to get a pen to work again or how to fix a pen? Well, to make a vape pen work properly again, you can follow several steps to troubleshoot and fix common issues. In fact, by abiding by these steps, most common issues with vape pens can be resolved. Keep in mind though, before we get to these, always refer to the user manual specific to your device for detailed instructions and safety guidelines. So, here are the following steps:
- Charge the Battery: Ensure your vape pen's battery is fully charged. Most vape pens have an indicator light to show when the battery is charging and when it's fully charged.
- Check the Connection: Sometimes, the battery and atomizer may not be connected properly due to dirt or damage. Unscrew the tank from the battery and clean both connectors with a cotton swab dipped in rubbing alcohol.
- Inspect the Coil: If your vape pen is producing little to no vapor, the coil might need to be replaced. Coils can burn out or become clogged over time. Replace the coil or clean it if it's reusable. Refer to your vape pen’s manual for specific instructions on replacing the coil.
- Check for Clogs: Vape pens can get clogged, especially if they haven’t been cleaned regularly. Clean the mouthpiece, tank, and any other airflow channels using a small brush or toothpick.
- Examine the E-Liquid: Old or low-quality e-liquid can cause poor performance. Make sure your e-liquid is not too thick for your device and that it hasn’t expired.
- Adjust the Settings: If your vape pen has adjustable settings, make sure they are set appropriately for your vaping style and the type of e-liquid you are using.
- Reset the Device: Some advanced vape pens come with a reset function. Consult your device's manual to see if this is an option and how to perform it.
- Check for Firmware Updates: This goes back to what we mentioned earlier, of your vape pen is advanced and supports firmware updates, check if there are any available updates that might improve its functionality.
- Replace the Battery: Batteries lose their ability to hold charge over time. If your vape pen isn’t holding a charge like it used to, it might be time to replace the battery.
Know Your Vape and Repair It with Care
Overall, knowing your vape pen and repairing it with care is essential, especially because vapes contain electronic components and batteries that can pose fire and explosion risks if damaged or improperly handled. Understanding how your device works and how to maintain and repair it properly can help prevent accidents. Also, regular maintenance and proper repairs can ensure your vape performs optimally. This includes better vapor production, flavor delivery, and battery efficiency. Basically, knowing the ins and outs of your device can help you troubleshoot issues like leaks or poor performance.
Not only those things but by repairing your vape yourself, you can save money on service costs and potentially extend the life of your device, delaying the need for a replacement.
Knowledge of your device can also enable you to customize its performance to better suit your preferences. This might include adjustments to wattage, airflow or even building your own coils. Still, understanding your device's specifications and limitations can prevent you from using incompatible components or exceeding its operational parameters, which could lead to damage or unsafe conditions.
Remember, to safely repair and maintain your vape, it's imperative to use the right tools and replacement parts that are compatible with your device, follow manufacturer guidelines, and, if necessary, consult with professionals or refer to trusted resources for guidance.


